Hair extensions have become an essential part of many women’s beauty routines. They can add length, volume, and new colors to hair without the commitment of a dye job. If you want to transform your look, you can choose from several methods to put in hair extensions. In this article, you will learn how to put hair extensions in easily and effectively.
Preparation: Getting Ready to Install Hair Extensions
Before diving into the installation process, it’s crucial to prepare your natural hair and the extensions themselves. Start by ensuring your hair is clean and thoroughly dried. Use a clarifying shampoo to remove any product buildup, as this will help the extensions blend seamlessly with your natural hair. Once dry, gently brush through your hair to remove tangles and knots, using a wide-tooth comb or a specialized extension brush if available.
Choosing the Right Extensions
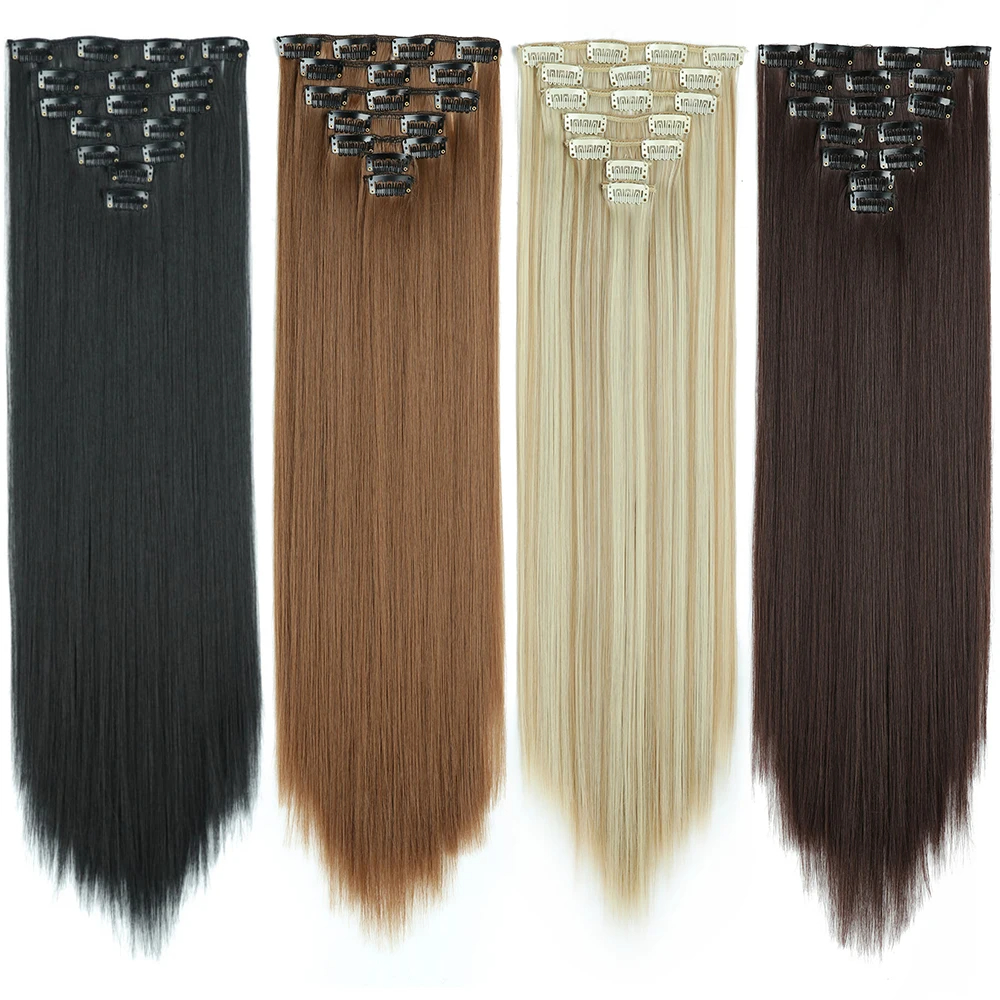
Selecting the right type of hair extensions is essential for achieving a natural look and comfortable wear. Extensions come in various materials, including human hair and synthetic fibers. Human hair extensions offer the most natural appearance and can be styled with heat tools like curling irons or straighteners. Synthetic extensions are more affordable but may have limitations in terms of styling and longevity.
When choosing the color of your extensions, match them as closely as possible to your natural hair color. If you have highlighted or ombre hair, consider extensions that blend multiple shades for a seamless transition. Extensions should also match the texture of your hair, whether it’s straight, wavy, or curly, to ensure they integrate well.
Types of Hair Extensions
Clip-In Extensions
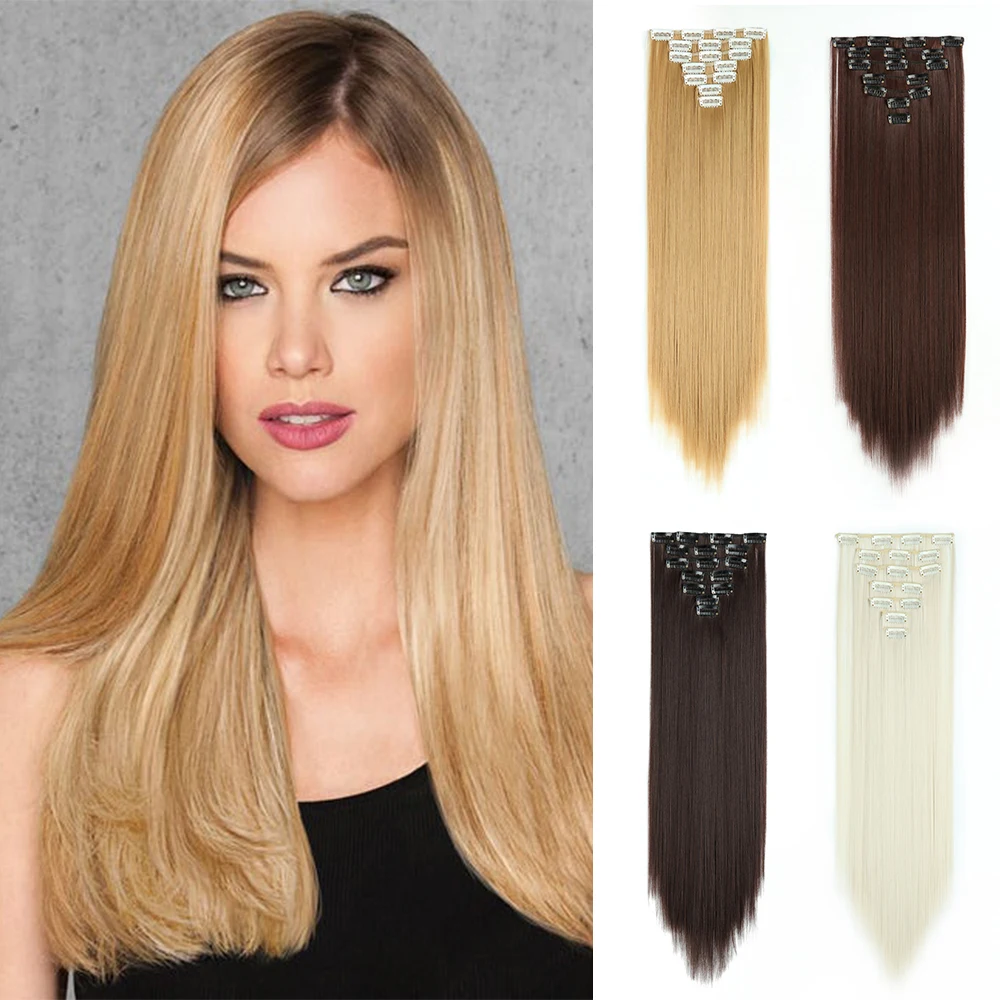
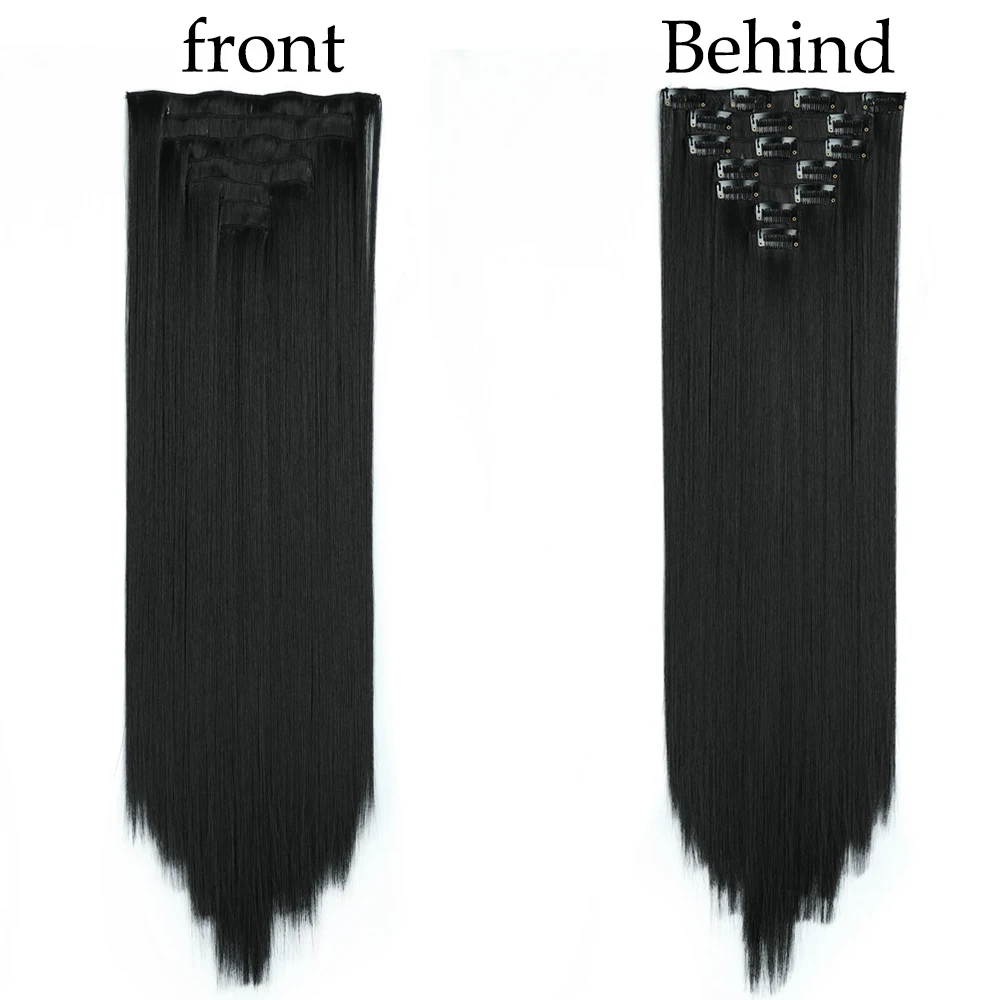
Clip-in extensions are one of the most popular types. They are easy to use and can be installed in just a few minutes. You can clip them in and take them out whenever you want. This convenience makes them a great choice for beginners.
Tape-In Extensions
Tape-in extensions are another popular option. They have adhesive tape on one side. You can attach these extensions close to your roots. They usually last longer than clip-ins and provide a more natural look.
Sew-In Extensions
Sew-in extensions involve braiding your natural hair and sewing the extensions into the braids. This method typically lasts longer and provides a secure attachment. However, it can take longer to apply and may require the skills of a professional stylist.
Fusion Extensions
Fusion extensions use keratin bonds to attach the extensions to your natural hair. This technique takes longer and requires heat. Fusion extensions can last for several months, making them a great long-term choice.
Preparing Your Hair
Before putting in any hair extensions, you must prepare your natural hair. Clean and dry hair is essential. Wash your hair with a gentle shampoo and conditioner. Avoid using heavy products that may weigh your hair down. This will help your extensions adhere better and stay in place.
Detangling
Once your hair is clean and dry, you should detangle it. Use a wide-tooth comb to gently remove knots. Start from the tips and work your way up to avoid breakage. Make sure your hair is smooth and manageable. This step is key for a flawless extension application.
Sectioning Your Hair
After detangling, section your hair into manageable parts. Use hair clips to secure the sections away from your working area. For clip-in extensions, dividing your hair into layers helps you apply the extensions more effectively. Focus on the lower sections first and work your way up.
Applying Clip-In Extensions
Choosing the Right Color
Before applying clip-in extensions, ensure you have the right color. The extensions should blend seamlessly with your natural hair. If you can, get an extension that matches your hair color perfectly. If needed, consider highlights or ombre extensions for added dimension.
Adding the Extensions
To add clip-in extensions, start with the lower section of your hair. Take one weft of the extension, open the clips, and place it against the base of your natural hair. Press the clips into your hair and snap them closed. Make sure they feel secure.
Layering the Extensions
For a natural look, you should layer your extensions. After applying one weft, release some of your top hair and apply another weft above it. Continue this process until all your desired extensions are applied. Pay attention to blending the extensions with your natural hair, especially around the front for a seamless finish.
Applying Tape-In Extensions
Preparing the Extensions
Before applying tape-in extensions, take them out of the packaging. Cut any excess tape if necessary. You want to have a clean area to attach them. Pay attention to the direction of the natural hair growth while applying tape-ins.
Sectioning the Hair
Just like with clip-ins, section your hair for tape-in extensions. Start with the bottom layer. Use a fine-toothed comb to create a clean part, ensuring no strands are stuck in the tape.
Attaching the Tape-In Extensions
Take one extension and peel off the backing from the tape. Press the sticky side against your natural hair, about half an inch away from the roots. Take another extension and place it on top of the first one, sandwiching your hair in between. Use a flat iron to heat the tape gently, helping it bond better. Repeat this process for all sections needed.
Using Sew-In Extensions
Consultation with a Professional
For sew-in extensions, it’s best to consult a professional stylist. They can assess your hair type, texture, and color. A trained stylist will know how to create a braid base that will support the extensions well. Having a pro do it can ensure a secure and long-lasting result.
Preparing the Sections
If you’re doing it yourself, section your hair into small, manageable parts. Braid these sections tightly against your scalp to create a secure base. Use a thread and needle suitable for hair wefts. It is crucial to keep the braids flat to provide a good foundation.
Installing the Extensions
Take a weft of extensions and sew it onto the braid. Start at one end of the braid and work your way to the other end. Use a basic blanket stitch to attach the wefts securely. Be careful not to sew too tightly, as this may damage your natural hair.
Installing Hair Extensions: Step-by-Step Guide
Sectioning Your Hair
Begin by dividing your hair into sections to make the installation process more manageable. Use a tail comb to create a horizontal parting just above the nape of your neck. Clip the rest of your hair above the parting to keep it out of the way. Depending on the thickness of your hair and the type of extensions you’re using, you may create additional horizontal partings higher up on your head.
Preparing the Extensions
Before applying each weft of extensions, gently comb through them to remove any tangles. If you’re using clip-in extensions, open the clips by pressing the center of each clip to release the teeth. For tape-in or glue-in extensions, ensure the adhesive is ready and applied according to the manufacturer’s instructions.
Placing the Extensions
Starting with the lowest section of your hair, position the first weft of extensions along the parting, close to the roots. If using clip-ins, snap the clips shut once positioned. For tape-ins or glue-ins, press the weft firmly against your scalp to secure the adhesive. Repeat this process with each section, working your way up the back of your head and then around the sides.
Blending Extensions with Your Natural Hair
Once all extensions are in place, gently comb through your hair to blend the extensions with your natural hair. Use a flat iron or curling iron to style your hair as desired, ensuring the extensions seamlessly integrate with your hairstyle. You may need to trim the extensions to achieve your desired length and layers, blending them further with your natural hair for a flawless finish.
Maintaining Hair Extensions
Daily Care
Once your extensions are in, you must take care of them properly. Always brush your hair gently to avoid tangling. Use a wide-tooth comb or a special extension brush. Start at the ends and work your way to the roots.
Washing and Conditioning
When washing your extensions, use products that are sulfate-free and specifically made for extensions. Avoid washing your hair every day. Instead, aim for 2-3 times a week. Condition your extensions thoroughly to keep them shiny and healthy.
Conclusion
Hair extensions can significantly enhance your look. Whether you choose clip-ins, tape-ins, sew-ins, or fusion extensions, it’s vital to prepare your natural hair correctly and apply the extensions properly. With the right technique, you can achieve beautiful, voluminous hair that turns heads. Remember to maintain your extensions for the best results, and your new locks will always look stunning!