Introduction
Clip-in hair extensions can be a game changer for anyone looking to enhance their hairstyle. They’re affordable, easy to use, and versatile. With clip-ins, you can transform your appearance in just a few minutes. This article will guide you through the process of how to put in clip in hair extensions. We’ll explore everything from preparation to application. By the end, you’ll have the knowledge to rock your new look with confidence.
Understanding Clip-In Hair Extensions
What Are Clip-In Hair Extensions?
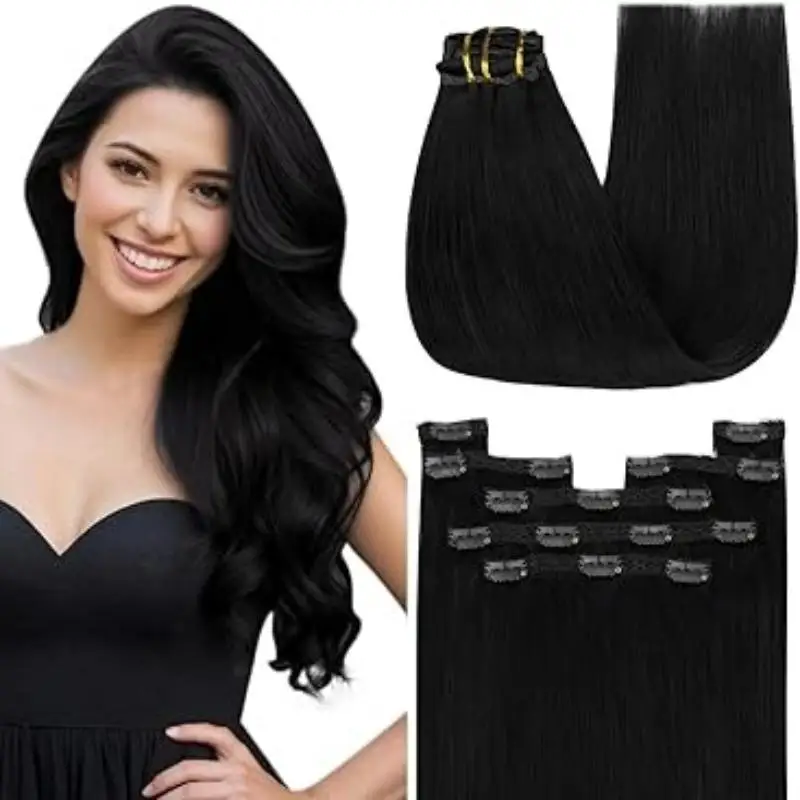
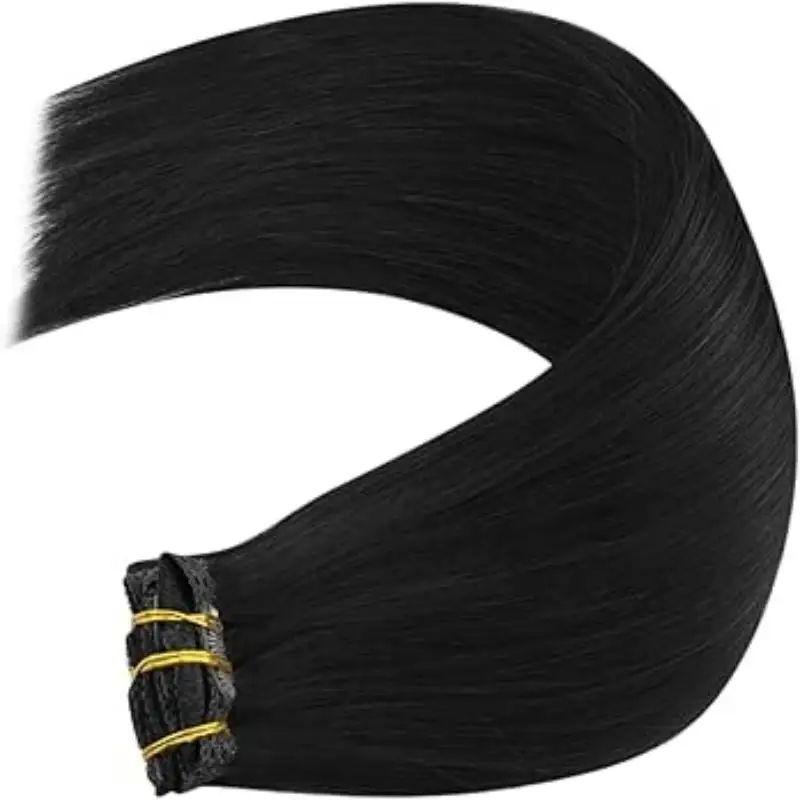
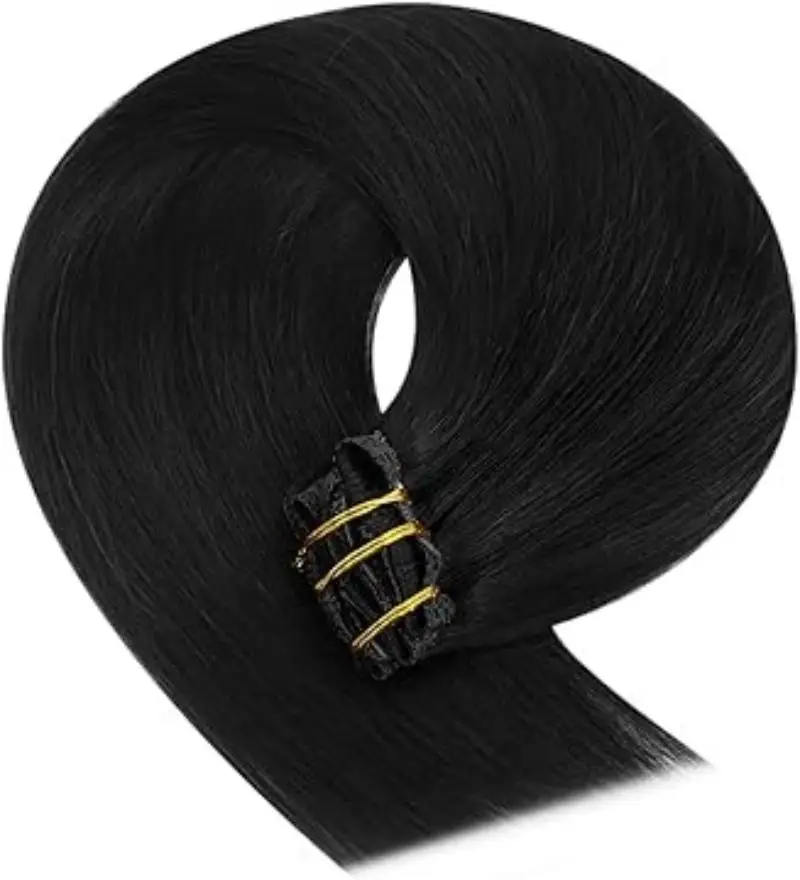
Clip-in hair extensions are a temporary way to add length and volume to your hair. They come in strands with small clips attached. You can easily attach and remove them without the need for professional help. This flexibility allows you to change your hairstyle as often as you like.
Clip-in extensions come in various colors, lengths, and textures. This variety helps you match them perfectly to your own hair. You can find them made from either synthetic materials or real human hair. If you want a natural look, opt for human hair extensions.
Why Choose Clip-In Extensions?
There are plenty of reasons to choose clip-in hair extensions. First, they are quick to apply. You can achieve a stunning look in just a few minutes. This is perfect for busy individuals or those who attend events last minute. Second, they provide versatility. Whether you want to add volume for a special occasion or length for everyday wear, clip-ins can do it all.
Another advantage is that they don’t require any special maintenance. Unlike permanent extensions, you can take them out whenever you need to. This feature makes them ideal for people who like to change their style regularly.
Preparing for Clip-In Hair Extensions
Gather Your Supplies
Before you put in your clip-in hair extensions, get your supplies in order. You will need a few items, such as:
- A comb or brush
- Hair clips or ties
- A mirror to see the back of your head
- Heat protectant (if you plan to style your extensions)
- Your clip-in hair extensions
Finding a well-lit area will also help. Good lighting makes it easier to see how the extensions blend with your natural hair.
Prepare Your Natural Hair
Clean and dry your hair before application. Start by washing it with a gentle shampoo and conditioner. Avoid heavy products that can weigh down your hair. Once your hair is clean, make sure it’s completely dry. Wet hair is more prone to tangling, making it harder to work with.
Next, you might want to style your natural hair to help the extensions blend in. A loose wave or curl can give a seamless look. If you prefer straight hair, make sure to brush out any knots. Your natural texture will set the stage for an amazing look.
Section Your Hair
Sectioning your hair is key to successful application. Start by parting your hair horizontally. Grab a comb and section off the top layer of your hair. This layer should be about two inches thick. Clip this section out of the way for now.
Next, take the lower section of hair and hold it together, making sure it’s smooth. This part will be your base for attaching the extensions. Make sure the section is flat against your head. This creates a secure foundation for the clips to grip onto, helping them stay in place all day.
Applying the Clip-In Hair Extensions
Attaching the First Row
Once your hair is sectioned and you have your first layer ready, it’s time to clip in the first row. Unclip the first set of extensions, and hold them with the clips facing your scalp. Position the extensions about one inch above the nape of your neck. This area is crucial for concealing the clips.
Begin with the middle clip. Open it by pressing down on the ends. Attach it to your hair and press firmly to secure it. Next, move to the outside clips and repeat the process on both sides.
Make sure the extensions are snug but not so tight that they cause discomfort. You can gently tug on the extensions to check if they’re secure. If they feel loose, reattach them until they stay put.
Continue Layering
Now that the first row is in, you can layer the extensions for added volume. Let down the top section of your hair and repeat the sectioning process. Depending on the number of extensions, you may need to repeat the application two or three more times.
Always start with the middle clips first, then work your way to the sides. As you move up your head, make sure the sections are small enough not to be bulky. This technique helps create a natural look.
Final Touches
Once all the extensions are in, it’s time for some final touches. Blend your natural hair with the extensions using a brush. This can help hide the clips and create a seamless appearance. If you have curly extensions, you might want to add some waves to your natural hair.
For more definition, you can use a curling wand or straightener. Just remember to use heat protectant spray first. This step ensures your hair remains healthy and shiny.
Maintaining Your Clip-In Hair Extensions
How to Care for Your Extensions
Taking care of your clip-in extensions will extend their lifespan. Start by brushing them gently with a wide-toothed comb. This move prevents tangles and breakage. Always start from the ends and work your way up.
When you’re ready to wash them, use a sulfate-free shampoo. Fill a basin with lukewarm water and add a small amount of shampoo. Gently swirl the extensions in the water, then rinse. Avoid scrubbing them harshly, as this can damage the hair.
After washing, let them air dry. Avoid using heat to speed up the drying process. This can cause the extensions to lose their quality. If you wish to style them, make sure they are completely dry first.
How to Store Your Extensions
Proper storage of your clip-in extensions is essential for maintaining their quality. After washing and drying, lay them flat in a protective case or pouch. Avoid leaving them in a bundle, as this can cause tangling.
If you have multiple sets, label each one to make your selection easier. Store them in a cool, dry place away from direct sunlight. This step will prevent fading and damage to the hair fibers.
Troubleshooting Common Issues
Extensions Won’t Blend
One common issue is the extensions not blending well with your natural hair. This often happens if the colors don’t match or if the extensions are too long. To fix this, consider adjusting your haircut. A few layers around your face can help the clips blend seamlessly.
You can also style both your natural hair and the extensions together. Creating curls or waves can make the two different textures appear cohesive. If necessary, dyeing the extensions to match your natural color can be effective.
Clips Are Too Tight or Loose
If you find the clips too tight or loose, you can adjust them. Start by removing the extensions and then placing them back. Check to see if there’s any hair trapped in the clips. If the clips feel tight, loosen them slightly.
For loose clips, make sure to attach them securely. You might also look for clips with a better grip. Some clips are designed to hold hair more effectively, making the overall experience more comfortable.
Conclusion
Putting in clip-in hair extensions doesn’t have to be a daunting task. With the right tools and a little practice, you can create beautiful looks in no time. Remember to care for your extensions properly and store them safely to get the most out of your investment.
Clip-in hair extensions offer you versatility, convenience, and variety. So, whether you’re getting ready for a special event or just want to switch up your daily style, clip-ins provide an easy solution that enhances your beauty. Say goodbye to bad hair days and hello to fabulous new hairstyles!