
Hair extensions offer a fantastic way to achieve long, voluminous hair without the wait. However, for extensions to look natural, they must blend seamlessly with your natural hair. Mastering this skill involves understanding the right techniques and practices to create a flawless integration. This comprehensive guide will walk you through the essential steps for how to blend hair extensions, ensuring a seamless and stunning appearance.
Understanding Hair Extensions
Types of Hair Extensions
To blend hair extensions perfectly, you first need to understand the different types available. Each type has unique characteristics and applications.
1. Tape-In Extensions: These extensions are pre-taped and sandwich your natural hair between two strips. They are known for their natural look and easy application. Tape-ins work well for those looking for a semi-permanent solution with minimal damage.
2. Clip-In Extensions: Clip-ins are the most versatile type, allowing for easy application and removal. They are perfect for temporary changes and can be used to add volume or length for special occasions.
3. Micro-Ring Extensions: Also known as micro-bead or micro-link extensions, these are attached using tiny rings or beads. They offer a natural look without the need for heat or glue, making them a popular choice for those who want a long-lasting extension.
4. Sew-In Extensions: Sew-ins involve braiding the natural hair into cornrows and sewing the extensions onto the braids. This method is durable and works well for thick hair but requires a professional to apply and remove.
5. Fusion Extensions: Fusion extensions use a bonding agent to attach the extensions to the natural hair. They can be applied using heat or cold fusion methods and offer a long-lasting, natural look.
Choosing the Right Extensions for Blending
When selecting hair extensions, consider the following factors to ensure a seamless blend:
1. Color Match: Choose extensions that match your natural hair color or are close to it. If you want to change your hair color, opt for a shade that complements your current hair color.
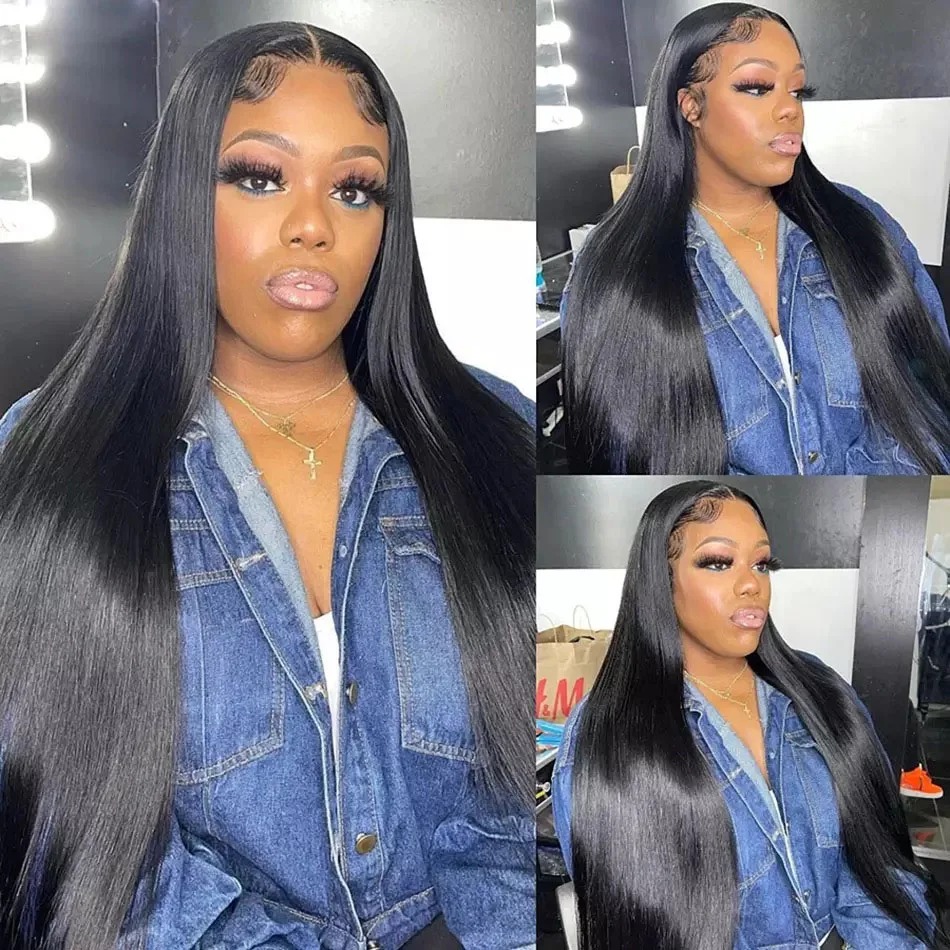
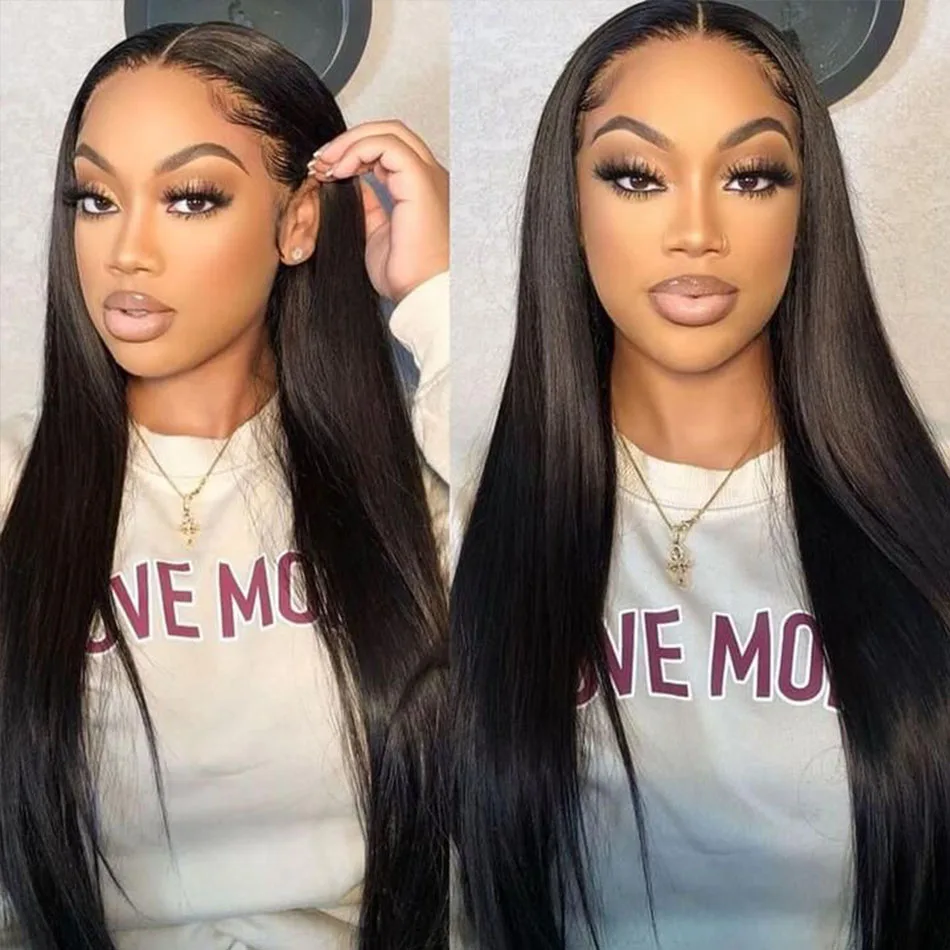
2. Texture Match: The texture of the extensions should match your natural hair texture. If your hair is straight, choose straight extensions. If you have curly or wavy hair, select extensions with a similar curl pattern.
3. Length and Volume: Extensions should match the length and volume of your natural hair. Avoid extensions that are significantly longer or thicker than your natural hair to maintain a natural look.
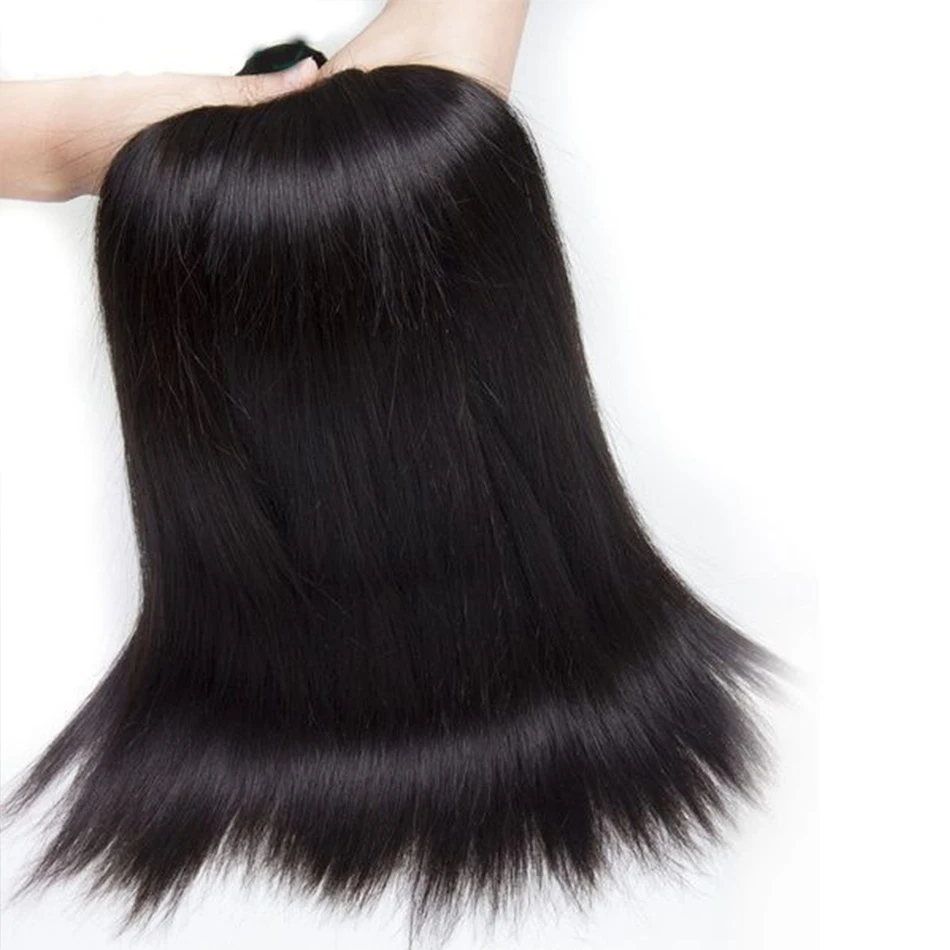
4. Quality of Hair: High-quality extensions, such as 100% Remy human hair, blend more naturally with your natural hair. They are more durable and can be styled just like your own hair.
Preparing for Application
Preparing Your Natural Hair
Before applying hair extensions, it’s crucial to prepare your natural hair properly. This preparation ensures a smooth application and helps the extensions blend seamlessly.
1. Clean and Dry Hair: Start with clean, dry hair. Wash your hair with a clarifying shampoo to remove any product buildup and residue. Avoid using conditioner before the application, as it can make your hair too slippery for the extensions to adhere properly.
2. Detangle Thoroughly: Use a wide-tooth comb or brush to remove any knots or tangles from your hair. Detangled hair ensures that the extensions can be applied evenly and reduces the risk of tangling.
3. Section Your Hair: Divide your hair into sections to make the application process easier. Use clips to secure the top sections and work with the lower sections first. This method helps achieve a more organized and controlled application.
Preparing the Extensions
Proper preparation of the extensions is just as important as preparing your natural hair. Here’s how to get them ready for application:
1. Check the Fit: Before applying, ensure that the extensions fit comfortably and match the length and texture of your natural hair. Trim or adjust the extensions as needed to achieve the desired look.
2. Clean Extensions: If you’re using pre-used extensions, make sure they are clean and free from any product buildup. Wash them gently with a mild shampoo and condition them before application.
3. Heat Protection: If you plan to use heat styling tools on the extensions, apply a heat protectant to prevent damage. Heat protectants shield both natural and extension hair from heat damage.
Application Techniques
For Tape-In Extensions
Tape-in extensions are known for their ease of application and natural look. Here’s a step-by-step guide to applying them:
1. Section and Secure: Begin by sectioning your hair into thin layers. Use clips to secure the top layers, exposing the lower sections where you will apply the extensions.
2. Apply the Tape: Gently separate a small section of your natural hair and place the tape-in extension against it. Press the extension firmly to ensure it sticks. Place a second extension on top of the natural hair, sandwiching it between the two tapes.
3. Smooth and Secure: Press down along the tape to ensure a secure bond. Use a tail comb to smooth out any bumps and ensure the extensions blend seamlessly with your natural hair.
For Clip-In Extensions
Clip-in extensions are versatile and easy to apply. Follow these steps for a flawless blend:
1. Section and Clip: Start by sectioning your hair as you did with tape-ins. Open the clips on the extensions and place them close to the root of your natural hair. Snap the clips shut to secure them in place.
2. Blend with Natural Hair: After applying the clip-ins, gently blend them with your natural hair using a brush or comb. This helps to create a smooth transition between the extensions and your own hair.
3. Style as Desired: Style your hair as desired. Clip-ins can be curled, straightened, or styled just like natural hair. Use heat protectants to maintain the health of the extensions.
For Micro-Ring Extensions
Micro-ring extensions require precision and a bit more technique. Here’s how to apply them:
1. Section and Prepare: Section your hair and clip up the top layers. Slide a micro-ring onto a small section of natural hair.
2. Insert Extension: Place the tip of the extension into the micro-ring and use pliers to close the ring tightly around the hair. Ensure the extension is secure and close to the root without causing discomfort.
3. Check and Adjust: After applying, check that the extensions are evenly spaced and not too tight. Adjust as needed for comfort and a natural look.
For Sew-In Extensions
Sew-in extensions are a bit more involved and generally require professional application. However, here’s a basic overview:
1. Braid the Natural Hair: Braid your natural hair into tight cornrows. The braids should be close to the scalp and provide a sturdy base for sewing in the extensions.
2. Sew Extensions onto Braids: Using a needle and thread, sew the wefts of extensions onto the braided hair. Secure the wefts tightly but avoid pulling too hard to prevent damage.
3. Blend and Style: Once the extensions are sewn in, blend them with your natural hair by cutting and styling as needed.
Blending Techniques
Cutting and Shaping Extensions
For a natural look, blending involves cutting and shaping the extensions to match your natural hair.
1. Trim Extensions: After application, trim the extensions to blend with your natural hair length. Use sharp hair scissors and cut small amounts at a time to avoid cutting too much.
2. Layer Extensions: Layering the extensions helps to create a natural flow and movement. Blend the layers to ensure there are no harsh lines between your natural hair and the extensions.
3. Texturize: Use thinning shears to texturize the extensions if needed. This technique helps to reduce bulk and blend the extensions more naturally with your natural hair.
Blending with Styling
Styling techniques can also help blend extensions seamlessly.
1. Curling: If your natural hair has curls, use a curling iron or wand to style the extensions to match. Curling the extensions helps them blend better with naturally curly hair.
2. Straightening: For straight hair, use a flat iron to straighten both your natural hair and the extensions. This helps to achieve a smooth and uniform look.
3. Texturizing Products: Use texturizing sprays or powders to add volume and create a more natural appearance. These products can help blend the extensions with your natural hair by adding texture and movement.
Maintenance and Care
Regular Care for Blended Hair Extensions
Maintaining the blend between your natural hair and extensions is crucial for a long-lasting, natural look.
1. Avoid Over-Washing: Wash your hair and extensions only when necessary. Over-washing can lead to dryness and damage. Use a gentle, sulfate-free shampoo and conditioner.
2. Avoid Heavy Products: Heavy styling products can weigh down the extensions and cause buildup. Opt for lightweight products that are specifically designed for hair extensions.
3. Regular Trimming: Schedule regular trims to maintain the shape and blend of your extensions. Trim both your natural hair and extensions to keep them looking fresh and well-integrated.
Professional Maintenance
For the best results, consider regular visits to a professional stylist.
1. Regular Check-Ups: Schedule appointments with your stylist to check the condition of your extensions. They can adjust, replace, or remove extensions as needed.
2. Professional Styling: For complex styles or maintenance, a professional stylist can ensure that the extensions are blended perfectly and styled to your liking.
Troubleshooting Common Issues
Dealing with Tangling
Tangling can be a common issue with extensions. Here’s how to manage it:
1. Use Detangling Spray: Apply a detangling spray to your hair and extensions before combing. Use a wide-tooth comb to gently remove tangles.
2. Avoid Excessive Heat: Overuse of heat styling tools can lead to tangling.