Introduction
Sewn in hair extensions, also known as weaves, are a popular choice for many people looking to enhance their hairstyle. They provide volume, length, and versatility. This article will guide you through everything you need to know about sewn-in hair extensions, from the application process to maintenance tips.
What Are Sewn-In Hair Extensions?
Understanding Sewn-In Hair Extensions
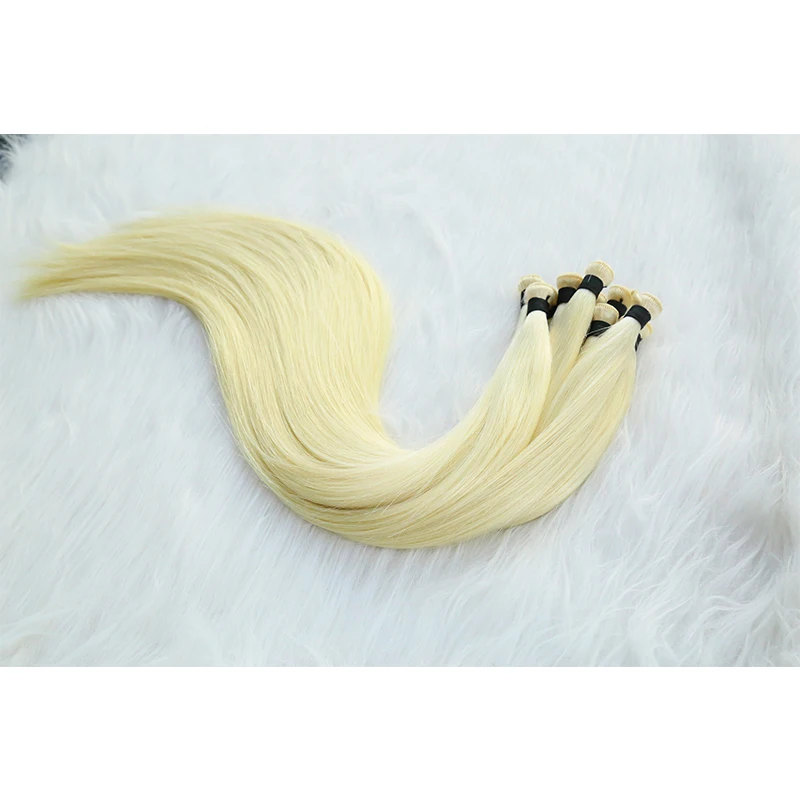
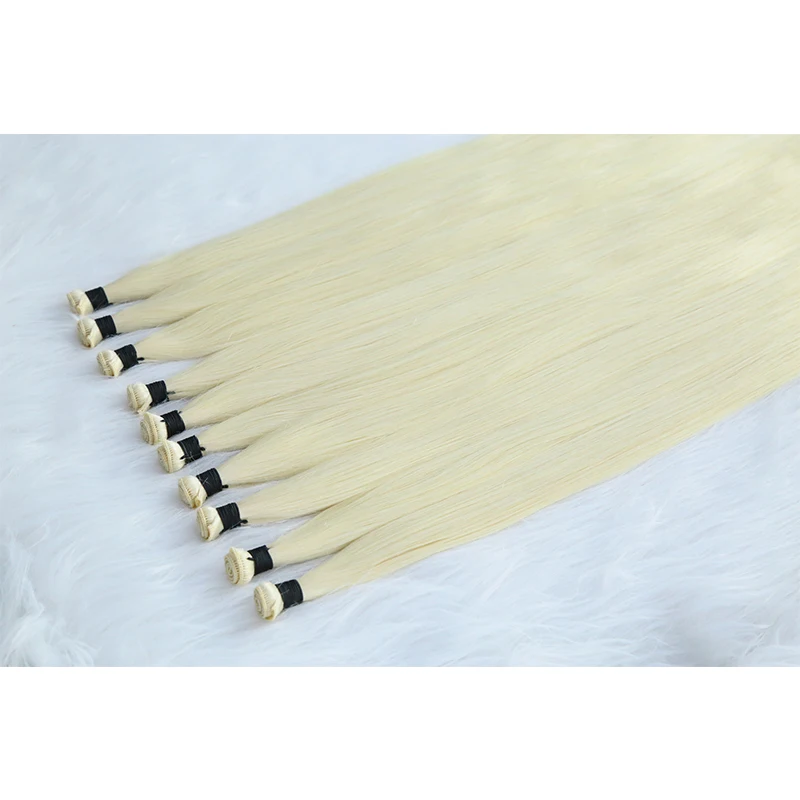
Sewn-in hair extensions involve the attachment of hair wefts to natural hair using a needle and thread. This method requires the natural hair to be braided into cornrows. The extensions are then sewn onto these braids. This technique is favored for its durability and natural appearance. Many choose sewn-in extensions for various reasons, including lengthening their hair, adding volume, or experimenting with different hairstyles.
Sewn-in extensions can be made from either synthetic hair or human hair. Human hair extensions are generally more expensive but offer a more natural look and feel. They can be styled with heat tools and dyed, just like your natural hair. On the other hand, synthetic hair is often more affordable but less versatile. It cannot withstand heat styling and may not blend as seamlessly with natural hair.
Why Choose Sewn-In Extensions?
There are several benefits to opting for sewn-in hair extensions. First, they provide long-lasting results. Once installed, they can last anywhere from six to twelve weeks, depending on how well you care for them. This durability makes them a great choice for individuals who want a low-maintenance option for their hair.
Another significant advantage is the ability to customize your look. With various textures, lengths, and colors available, you can create virtually any hairstyle you desire. Whether you want sleek, straight hair or voluminous curls, sewn-in extensions can help you achieve your desired look.
Finally, sewn-in extensions are excellent for protecting your natural hair. The braiding method keeps your hair tucked away, reducing exposure to heat and environmental damage. This protective style can promote healthy hair growth over time.
The Application Process
Preparing for Installation
Before getting sewn-in hair extensions, you need to prepare properly. Start by consulting with a professional stylist who specializes in extensions. They can help you choose the right type and color for your hair. This initial consultation is crucial for achieving a seamless blend.
Once you’ve chosen your extensions, it’s time to prepare your natural hair. Begin by washing your hair to remove any product buildup. Use a gentle shampoo and a moisturizing conditioner. This step ensures your hair is clean and manageable for the braiding process.
After washing, gently detangle your hair with a wide-tooth comb. Be careful not to cause any breakage. Next, it’s essential to dry your hair completely. Wet hair can become heavy and may not hold braids as well as dry hair.
The Braiding Process
The next step in the application process is braiding your hair into cornrows. This is where the extensions will be sewn in. Depending on your preference, the stylist may choose to create several small braids or larger ones. The size and number of braids can affect the final look of your extensions.
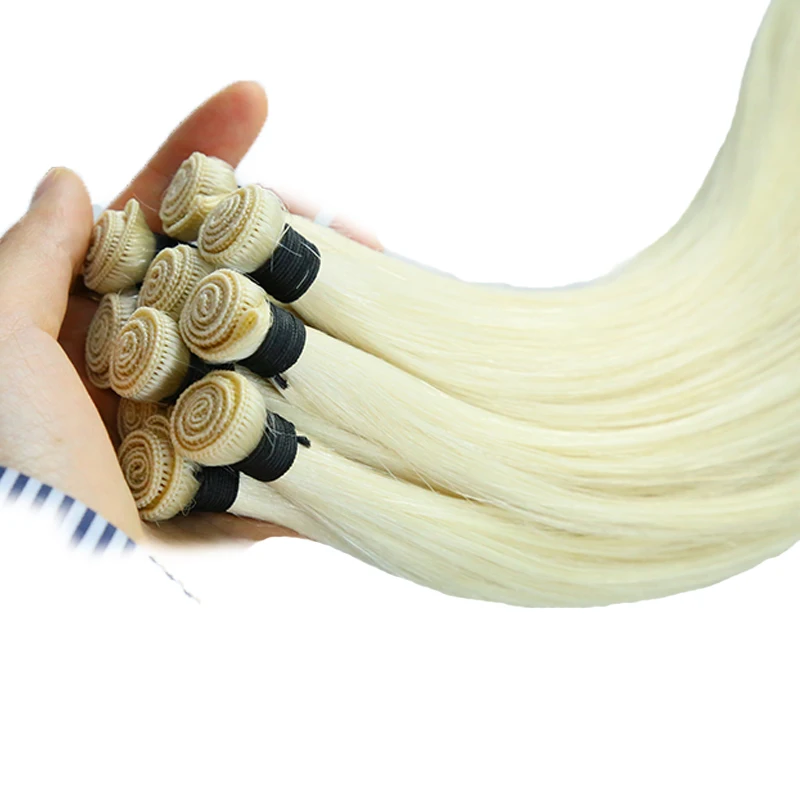
Once your hair is braided, the stylist will begin sewing in the extensions. They will take a weft of hair and align it with the braid. Using a curved needle and thread, the stylist will sew the weft onto the braid, ensuring it is secure. This process may take a few hours, depending on the thickness of your natural hair and the number of extensions being used.
Final Touches
After all the extensions are sewn in, the stylist will typically trim and style the hair to ensure a seamless blend with your natural hair. They may use heat tools to curl or straighten the hair as desired. This final step is crucial for achieving a polished look.
It’s essential to communicate with your stylist during this process. Let them know your preferences and ask questions if you’re unsure about anything. A good stylist will ensure you leave the salon feeling confident and happy with your new look.
Maintenance of Sewn-In Extensions
Daily Care
Proper maintenance is essential for keeping your sewn-in hair extensions looking great. Start by brushing your hair regularly. Use a wide-tooth comb or a brush designed for extensions to avoid causing damage. Start at the ends and work your way up to prevent breakage.
When washing your hair, use sulfate-free shampoo and a moisturizing conditioner. Avoid applying the shampoo directly to the extensions; instead, lather it in your hands and apply it to your scalp. Rinse thoroughly to ensure no product buildup remains. Conditioning is crucial, as it helps keep the hair soft and manageable.
Limit washing to once a week to avoid drying out the extensions. If you feel your hair needs freshening up between washes, consider using a dry shampoo. This can help absorb excess oil without needing to wash your hair.
Protecting Your Extensions
To maintain the health of your extensions, protect them at night. Use a silk or satin scarf or pillowcase to minimize friction while you sleep. This will help prevent tangling and maintain the integrity of your braids.
If you plan to use heat styling tools, always apply a heat protectant spray first. This step helps reduce damage from heat. Avoid using high temperatures, as extensions are not as resilient as natural hair.
It’s also crucial to avoid tight hairstyles that can put excessive tension on your extensions. Tight ponytails or buns can lead to breakage and discomfort. Instead, opt for looser styles that keep your hair secure without pulling.
When to Remove Sewn-In Extensions
Recognizing the Signs
Knowing when to remove your sewn-in extensions is just as important as the application process. Generally, it’s best to remove them after six to twelve weeks, depending on how well they are maintained. Signs that it may be time for removal include excessive tangling, noticeable slippage, or discomfort.
You should also monitor your natural hair’s health. If you notice any thinning or breakage around the areas where the extensions are sewn, it may be time to take them out. Healthy hair is always the priority.
Removal Process
Removing sewn-in extensions is best done by a professional stylist. They will carefully cut the thread and gently pull the wefts out without damaging your natural hair. This process usually takes less time than the installation.
After removal, it’s essential to give your natural hair a break. Allow your hair to rest and recover for a few weeks before getting another set of extensions. This break helps prevent damage and promotes healthy growth.
Consider deep conditioning your natural hair after removal. This step will help restore moisture and nourish your hair, making it ready for your next style.
Choosing the Right Extensions
Types of Hair
When selecting extensions, consider the following:
- Human Hair: Offers the most natural look and can be styled like your own hair.
- Synthetic Hair: More affordable but less versatile.
Texture and Color
Choose a texture and color that closely matches your natural hair for the best blend. If you’re unsure, consult with a stylist for guidance.
Quality
Investing in high-quality extensions is crucial. Look for reputable brands and read reviews. Higher-quality extensions will last longer and look more natural.
Conclusion
Sewn-in hair extensions offer a fantastic way to enhance your hairstyle. With proper care and maintenance, they can provide you with beautiful, long-lasting results. Understanding the application process, daily care, and when to remove extensions will help you achieve the best results. Whether you’re looking for added length, volume, or a new style, sewn-in extensions can help you express your individuality and boost your confidence. Enjoy experimenting with different looks and feel empowered with your beautiful hair!