Introduction
Braiding in hair extensions is a fantastic way to add length, volume, and style to your hair. Whether you want a chic everyday look or something special for an occasion, braids can enhance your hairstyle effortlessly. This comprehensive guide will walk you through how to braid in hair extensions.
Understanding Hair Extensions
Types of Hair Extensions
Before you start braiding, it’s essential to understand the different types of hair extensions available. Each type has unique features, benefits, and application methods.
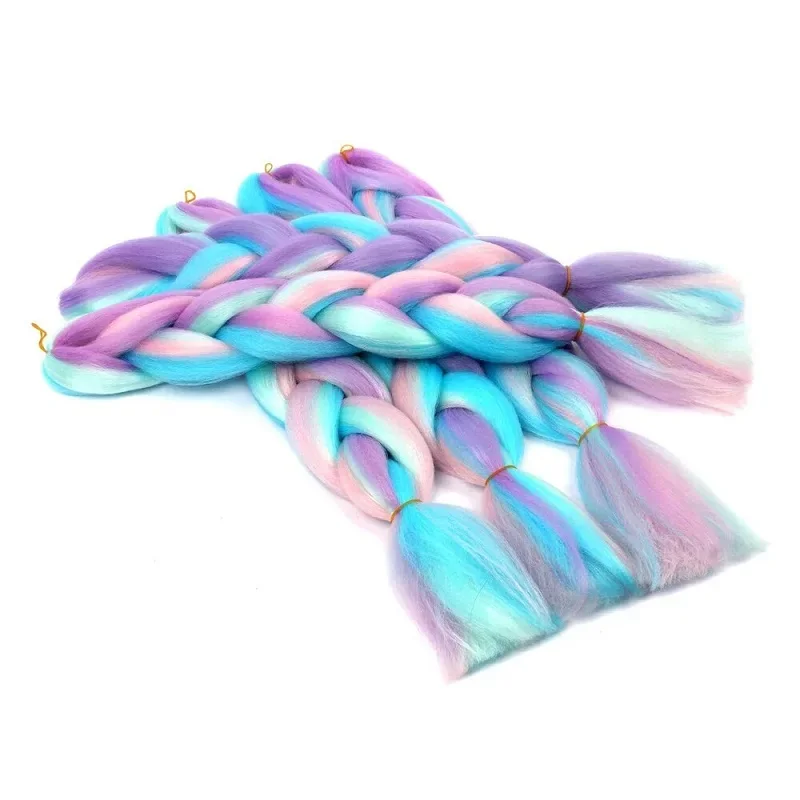
Clip-in Extensions are the most popular choice for those who want flexibility. They are easy to apply and remove, making them perfect for special occasions. Clip-ins come in various colors and lengths. You can easily match them to your natural hair. This option is great for beginners because it doesn’t require any professional help.
Tape-in Extensions are another option. They consist of strands of hair attached to a tape adhesive. You place these extensions close to your scalp. Tape-ins are semi-permanent and can last several weeks with proper care. They offer a natural look because they lay flat against the head. However, applying them can be a bit tricky for beginners.
Sew-in Extensions, also known as weaves, require more commitment. A professional stylist braids your natural hair into cornrows and then sews the extensions onto the braids. This method is long-lasting and can create beautiful, voluminous hairstyles. However, it can be time-consuming and may require regular maintenance.
Fusion Extensions use keratin bonds to attach individual strands of hair to your natural hair. This method can take several hours and is best suited for those looking for a long-term solution. Fusion extensions look very natural and blend well with your hair.
Choosing the right type of hair extensions is crucial for achieving the look you want. Consider your lifestyle, the time you want to spend on maintenance, and your budget before making a decision.
Choosing the Right Color and Texture
Once you have chosen the type of extensions, the next step is to select the right color and texture. Matching the extensions to your natural hair color is vital for a seamless blend.
If you are unsure about the color, opt for extensions that are slightly lighter than your natural shade. You can always darken them later with dye, but lightening extensions can be more challenging.
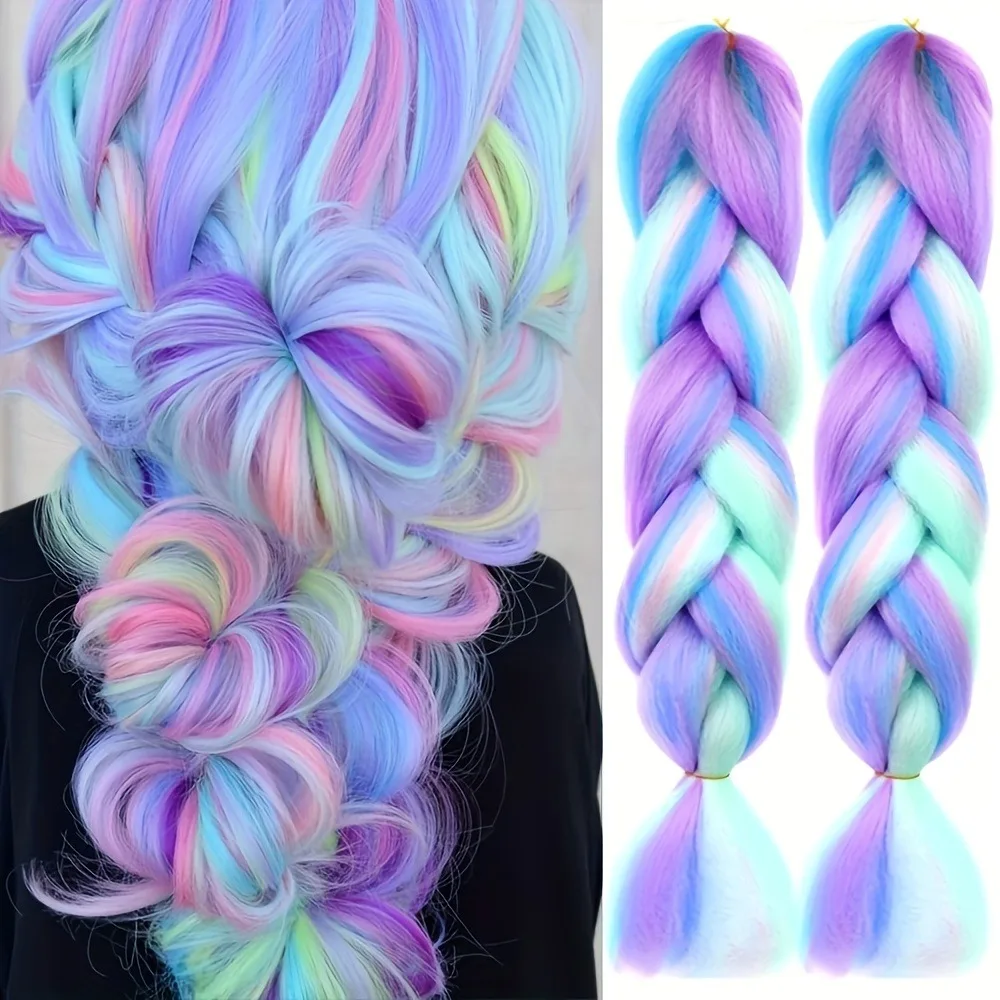
When it comes to texture, consider your natural hair type. If you have straight hair, straight extensions will blend better. For curly or wavy hair, choose extensions that match your texture. This will ensure a more natural look and feel.
You can find a variety of colors and textures in beauty supply stores or online. Many brands offer color matching services. This can help you find the perfect match.
Preparing for Braiding
Gathering Your Supplies
Before you start braiding in your extensions, gather all the necessary supplies. This will make the process smoother and more enjoyable. Here’s a list of what you will need:
- Hair Extensions: Choose the type that suits your style.
- Hairbrush: A wide-tooth comb is best for detangling.
- Hair Ties: Use small, clear elastics or fabric hair ties.
- Bobby Pins: These will help secure your braids.
- Hair Clips: Use clips to section off your hair.
- Styling Products: Consider using a heat protectant, hairspray, and a serum for added shine.
- Mirror: A good mirror will help you see what you’re doing.
Having everything on hand will save you time and prevent interruptions.
Preparing Your Natural Hair
Preparing your natural hair is crucial for a successful braid-in. Start by washing your hair to remove any product buildup. Use a gentle shampoo and follow up with a conditioner. This will leave your hair clean and manageable.
After washing, gently towel dry your hair to remove excess moisture. Avoid rubbing your hair with the towel, as this can cause damage. Instead, pat it dry gently.
Next, apply a heat protectant if you plan to use heat tools. This will help prevent damage from styling. If your hair is prone to frizz, consider applying a smoothing serum to keep it looking sleek.
Once your hair is prepped, you can start sectioning it off. Use hair clips to divide your hair into manageable sections. This will make the braiding process easier.
Braiding Techniques
Basic Braiding Technique
Now that you have prepared your hair and gathered your supplies, it’s time to start braiding. If you’re new to braiding, it’s best to start with a basic three-strand braid. Here’s how to do it:
- Section Your Hair: Start with one section of your natural hair. Comb through it to remove any tangles.
- Divide into Three Strands: Split the section into three equal parts. Hold one strand in each hand, and the third strand should rest in the middle.
- Start Braiding: Cross the right strand over the middle strand. The right strand now becomes the middle strand.
- Continue Braiding: Now take the left strand and cross it over the new middle strand. Repeat this process, alternating sides until you reach the end of the section.
- Secure the Braid: Use a hair tie to secure the end of the braid. Repeat this process with the remaining sections of hair.
This basic technique is easy to master and a great foundation for more complex styles.
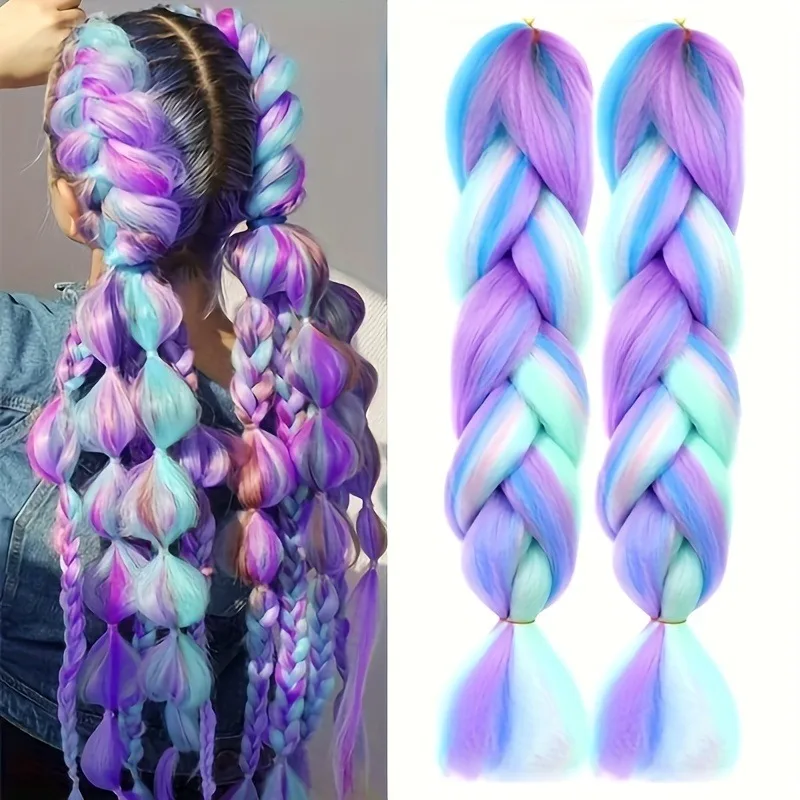
Incorporating Extensions into Your Braids
Once you are comfortable with basic braiding, you can start incorporating hair extensions. This process will add length and volume to your braids. Here’s how to do it:
- Prepare the Extensions: If using clip-in extensions, clip them into your hair in the areas where you want extra volume. For other types of extensions, ensure they are ready to use.
- Start with Your Natural Hair: Begin by braiding a section of your natural hair as described earlier.
- Add Extensions: As you continue braiding, add small sections of the extensions into the braid. Make sure to blend them evenly with your natural hair.
- Continue Braiding: Keep braiding, ensuring that the extensions are secure. Pay attention to the tension; you want the braid to look uniform without pulling too tightly.
- Secure the Braid: Once you reach the end of the braid, use a hair tie to secure it.
Incorporating extensions into your braid can take some practice. Take your time and ensure the extensions are well blended with your natural hair.
Maintaining Your Braids
Care for Your Braids
After braiding in your extensions, it’s essential to care for them properly. This will help your braids look fresh and last longer. Here are some tips for maintaining your braids:
- Avoid Excessive Washing: Washing your hair too frequently can strip it of natural oils. Try to wash your braids every one to two weeks. When you do wash, use a gentle shampoo to avoid drying out the hair.
- Use a Leave-In Conditioner: Apply a leave-in conditioner to keep your braids moisturized. This helps prevent dryness and frizz.
- Protect Your Hair at Night: When sleeping, protect your braids by using a silk or satin scarf. This will minimize friction and prevent tangling.
- Limit Heat Styling: Avoid using heat tools on your braids. If you need to style, consider using braids or twists that don’t require heat.
- Regularly Check for Tangles: Every few days, check your braids for tangles. Gently detangle any knots using your fingers or a wide-tooth comb.
By following these maintenance tips, you can keep your braids looking beautiful for weeks.
When to Remove the Extensions
Knowing when to remove your extensions is just as important as caring for them. Depending on the type of extensions used, the timeline can vary. Here are some general guidelines:
- Clip-in Extensions: These can be removed daily. If they start to feel loose or uncomfortable, it’s time to take them out.
- Tape-in Extensions: These typically last about 6 to 8 weeks. You can have them re-taped or removed by a professional.
- Sew-in Extensions: These can last anywhere from 6 to 12 weeks. Regular maintenance appointments are essential to keep them looking fresh.
- Fusion Extensions: These can last up to 3 to 6 months, depending on your hair growth. Consult a professional for removal.
Removing extensions at the right time is crucial to maintaining the health of your natural hair. Waiting too long can lead to damage or breakage.
Conclusion
Braiding in hair extensions is a wonderful way to transform your look. With the right techniques and care, you can achieve beautiful, voluminous braids that enhance your style. Remember to choose the right type of extensions, prepare your hair properly, and practice your braiding skills.
With patience and practice, you’ll master the art of braiding in hair extensions. Enjoy experimenting with different styles, and have fun showcasing your new look!