Introduction
Tape-in hair extensions are a popular choice for adding length and volume to your hair. They are easy to apply and can blend seamlessly with your natural hair. However, removing them requires careful attention to avoid damage to your natural hair. This article will guide you how to remove tape in hair extensions, ensuring your hair remains healthy and beautiful.

Understanding Tape-In Hair Extensions
What Are Tape-In Hair Extensions?
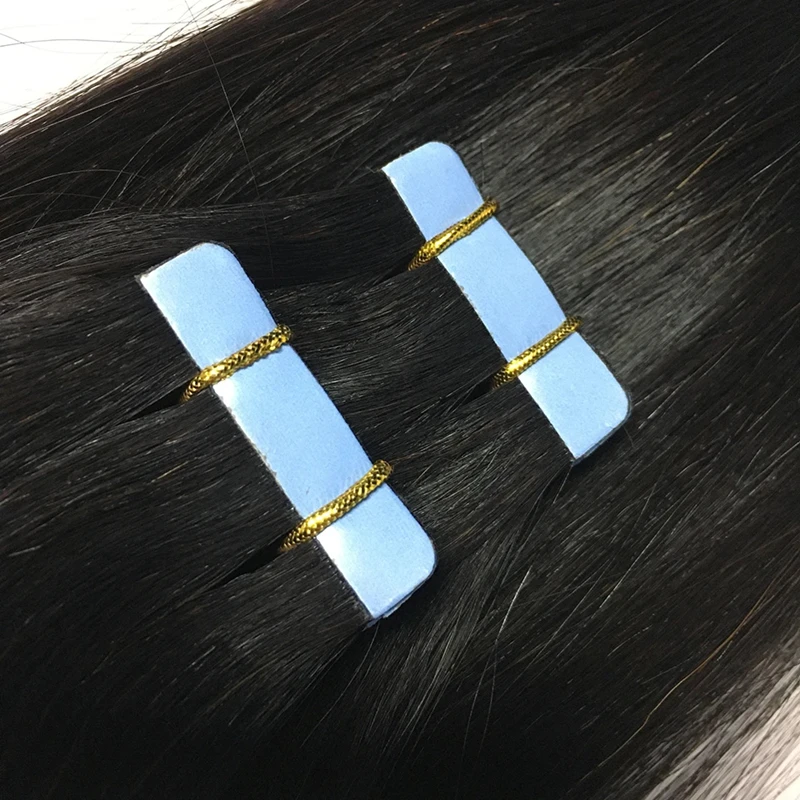
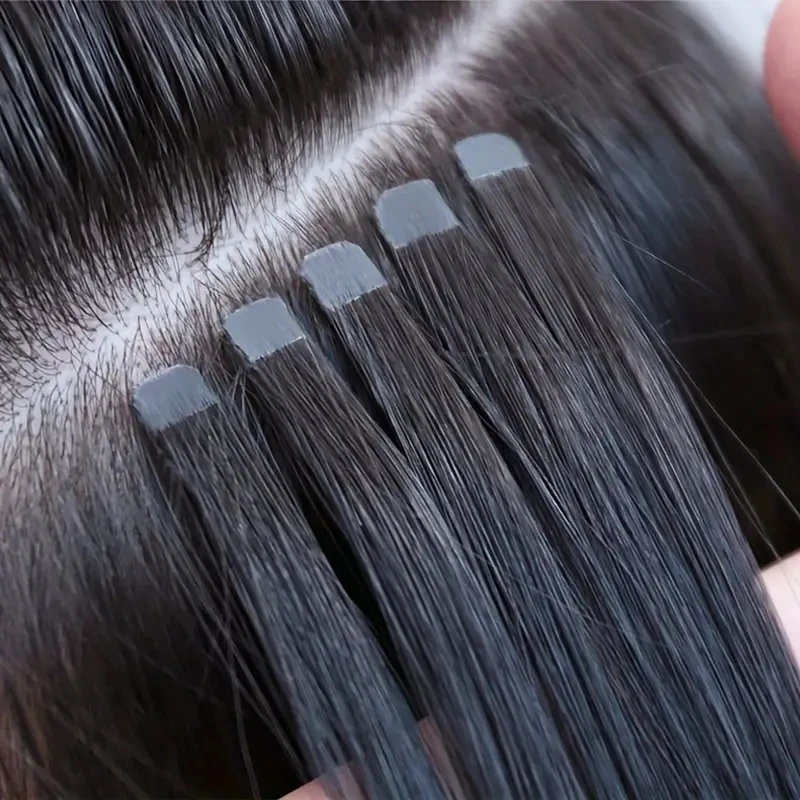
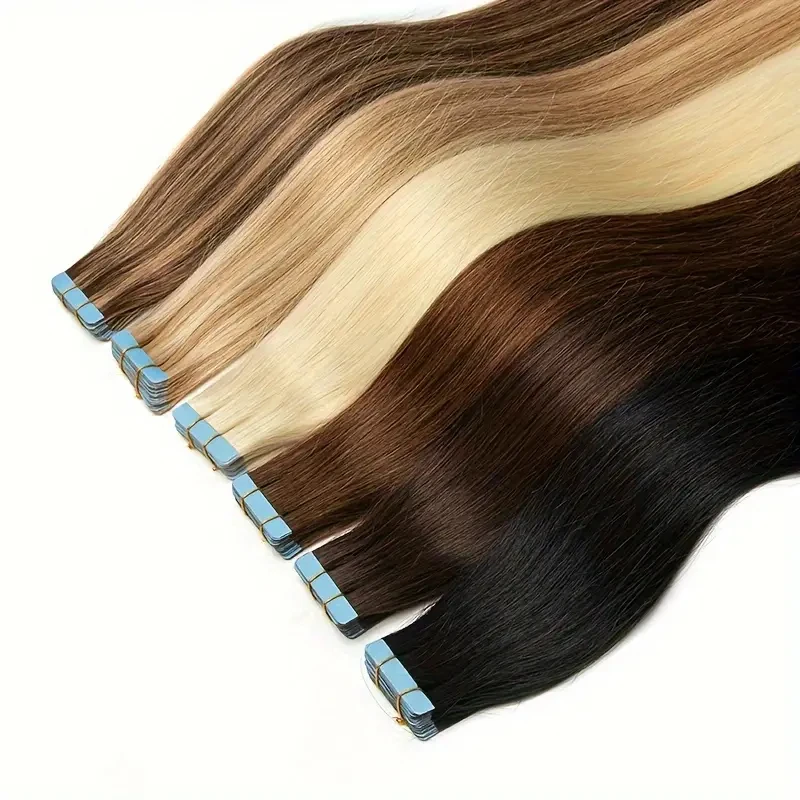
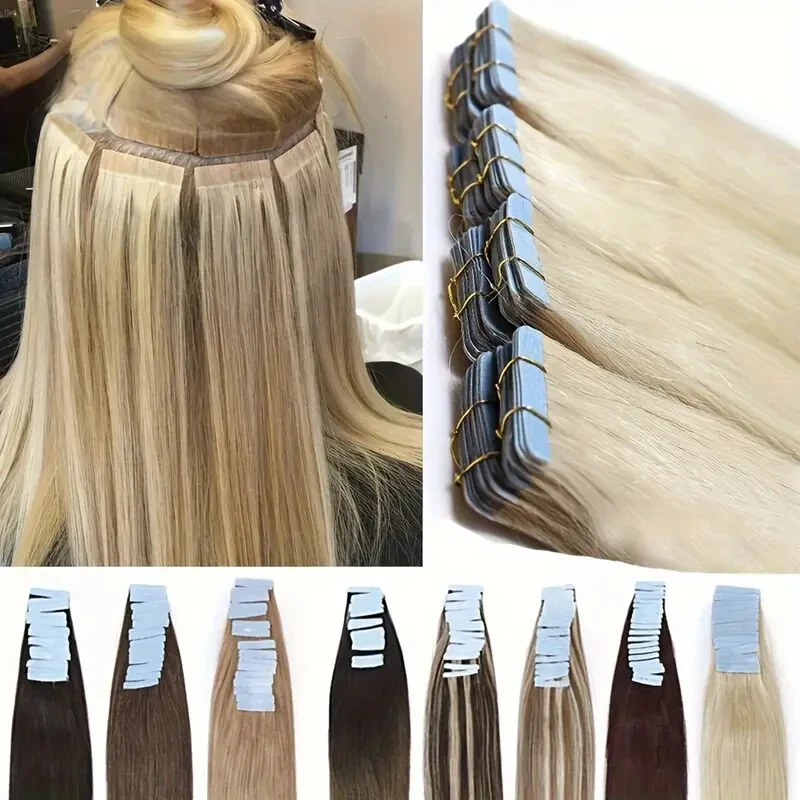
Tape-in hair extensions consist of wefts of hair that are adhered to your natural hair using double-sided tape. They come in various lengths, colors, and textures. The extensions are usually applied in rows, and the tape is placed close to the scalp. This method allows for a natural look and feel, making them a popular option among those seeking to enhance their hairstyle.
Benefits of Tape-In Hair Extensions
One of the significant benefits of tape-in extensions is their versatility. They can be styled just like your natural hair, allowing you to curl, straighten, or braid them. Additionally, they are less damaging compared to other methods, such as sew-ins or micro-link extensions, as they do not involve beads or braiding that can tug on the hair. They also lie flat against the scalp, making them comfortable to wear.
Preparing for Removal
Gather Your Supplies
Before you begin the removal process, gather all the necessary supplies. You will need:
- Tape-in extension remover: This is a special solution designed to break down the adhesive. Make sure you choose a high-quality remover.
- Wide-tooth comb: This will help detangle your hair gently during the process.
- Cotton pads: These can be used to apply the remover.
- Towel: Protect your clothes and catch any excess product.
- Hair clips: Use these to section your hair for easier access.
Find a Comfortable Space
Choose a well-lit and comfortable space to remove your extensions. You may want to sit in front of a mirror to see what you are doing. It’s also helpful to have someone assist you, especially when you are removing extensions from the back of your head.
Step-by-Step Removal Process
Step 1: Section Your Hair
Start by sectioning your hair. Use hair clips to separate the top layers of your hair from the extensions. This will give you better access to the tape-in extensions and make the process more manageable. Focus on one section at a time to ensure thorough removal.
Step 2: Apply the Remover
Take the tape-in extension remover and apply it directly to the adhesive tape. Use cotton pads to soak the remover and press it against the tape for a few seconds. This will help dissolve the adhesive, making it easier to remove the extensions. Be careful not to saturate your natural hair, as the remover is designed to break down the tape only.
Step 3: Gently Pull the Extensions
After allowing the remover to sit for a minute, gently pull the extension away from your natural hair. If it does not come off easily, apply more remover and wait a bit longer. Avoid pulling or tugging, as this can cause damage to your natural hair. If you feel resistance, stop and apply more product.
Step 4: Remove Residue
Once you have removed all the extensions, you may notice some sticky residue left on your natural hair. Use a small amount of the tape-in extension remover on a cotton pad to gently wipe away this residue. Make sure to be gentle to avoid pulling on your hair.
Aftercare for Your Hair
Wash and Condition Your Hair
After removing the extensions, it’s crucial to wash your hair thoroughly. Use a gentle shampoo to remove any leftover adhesive. Follow up with a hydrating conditioner to restore moisture to your hair. This step helps keep your hair healthy and prevents dryness or damage.
Deep Condition for Extra Care
Consider using a deep conditioning treatment after washing your hair. This can help replenish moisture and nourish your strands after the extension removal. Leave the treatment on for the recommended time and then rinse it out. This extra step can make a significant difference in how your hair feels after the process.
Tips for Maintaining Healthy Hair After Removal
1. Hydrate and Nourish
- Drink Water: Staying hydrated is crucial for hair health. Ensure you’re drinking enough water daily.
- Use Oils: Consider applying natural oils, like argan or coconut oil, to your ends to lock in moisture and provide nourishment.
2. Limit Heat Styling
- After removing extensions, your hair may need time to recover. Try to limit the use of heat styling tools like blow dryers, straighteners, and curling irons. If you must use them, apply a heat protectant spray to minimize damage.
3. Avoid Tight Hairstyles
- Give your hair a break from tight hairstyles, such as ponytails or braids, that can pull on your roots. Allowing your hair to rest will help prevent breakage.
4. Regular Trims
- Schedule regular trims every 6-8 weeks to keep your hair healthy and free of split ends. This can help promote growth and maintain a fresh look.
5. Choose the Right Products
- Opt for sulfate-free shampoos and conditioners that are gentle on your hair. Look for products designed for your hair type to ensure they provide the right level of care.
6. Scalp Care
- Don’t forget about your scalp! Consider using a gentle exfoliating scalp scrub to remove buildup and promote healthy hair growth.
7. Consider Supplements
- If you’re concerned about hair health, consider talking to a healthcare professional about hair growth supplements, such as biotin or vitamins specifically formulated for hair health.
When to Reapply Tape-In Extensions
After removing tape-in extensions, you may want to reapply them. However, it’s essential to allow your natural hair some recovery time. Generally, waiting at least 6-8 weeks is advisable to prevent any potential damage.
Signs Your Hair Is Ready for Extensions Again
- Strong and Healthy: If your hair feels strong and healthy after your post-removal care, it may be ready for another set of extensions.
- No Breakage: Ensure that you don’t experience excessive breakage or thinning before considering reapplication.
- Growth: If your hair has grown and looks healthy, you can think about reapplying extensions.
Caring for Your Natural Hair After Removal
Assess the Health of Your Hair
Once you’ve completed the removal, take some time to assess the health of your natural hair. Look for any signs of damage, such as breakage or thinning. If your hair appears healthy, then you can move on to the next steps. If you notice significant damage, consider giving your hair a break from extensions before your next application.
Hydrate and Nourish
Use a nourishing conditioner or hair mask following the removal. This step helps to restore moisture and can aid in the recovery of your natural hair. Many people recommend using products that are rich in proteins or oils, as they help build strength.
Consider a Trim
If your natural hair has experienced any breakage, a trim may help. Removing split ends can encourage healthier growth and overall hair health. A professional stylist can provide a trim and offer recommendations tailored to your hair type.
Final Thoughts
Removing tape-in hair extensions does not have to be a stressful experience. With the right tools and a careful approach, you can safely remove them while keeping your natural hair healthy. Take your time during the process, and don’t hesitate to ask for help if needed. Remember that your hair deserves care and attention, especially after using extensions.
By following these steps, you can enjoy the benefits of tape-in hair extensions without compromising the health of your natural hair. Whether you decide to reapply extensions or let your hair breathe for a while, maintaining a good hair care routine is essential for long-term health and beauty.


